
Assembling our LED light pocket display kits (AKA lightboxes) is easier than most people think...
Don’t let the idea of installation hold you back—our light pocket displays are designed with simplicity in mind. Even if you have little to no DIY experience, you'll be surprised by how straightforward the process really is. With clear instructions, intuitive components, and a cable system that’s built for flexibility, setting up your display feels less like a project and more like putting the final touch on your vision.
You don’t need special tools, and you certainly don’t need to be a professional installer. Just a bit of patience, a steady hand, and the willingness to give it a go—and you'll have your light pockets up and glowing in no time.
Click here to purchase one of our LED light pocket display kits from our range of preconfigured layouts.
Please note: The video features our previous light pocket design. While the setup process remains the same, the light pockets you’ll receive are our latest and improved version—with enhanced brightness, a built-in diffuser membrane for more even light distribution, a more advanced LED light plate for enhanced brightness and clarity, and even better durability.
The following screenshots have all been taken directly from the video...
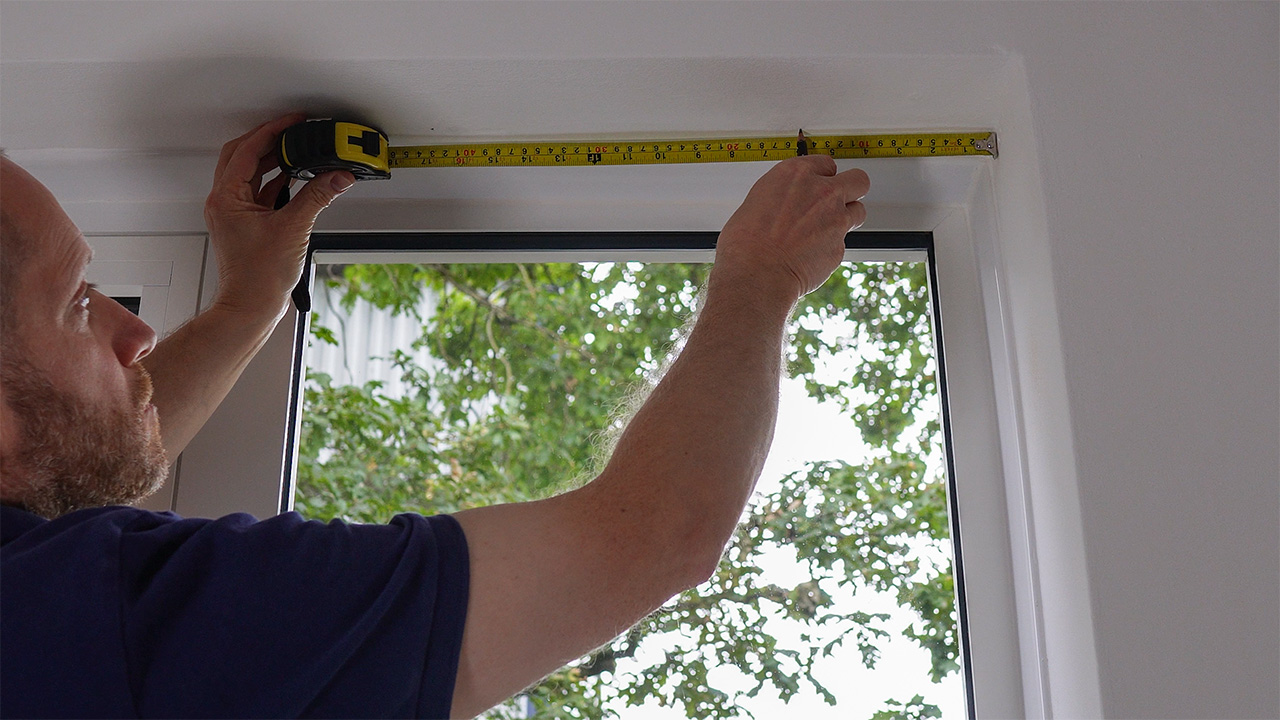
Carefully mark out the hole positions to the distance stated in the instructions, making sure that you double check your measurements before proceeding to drill the holes.
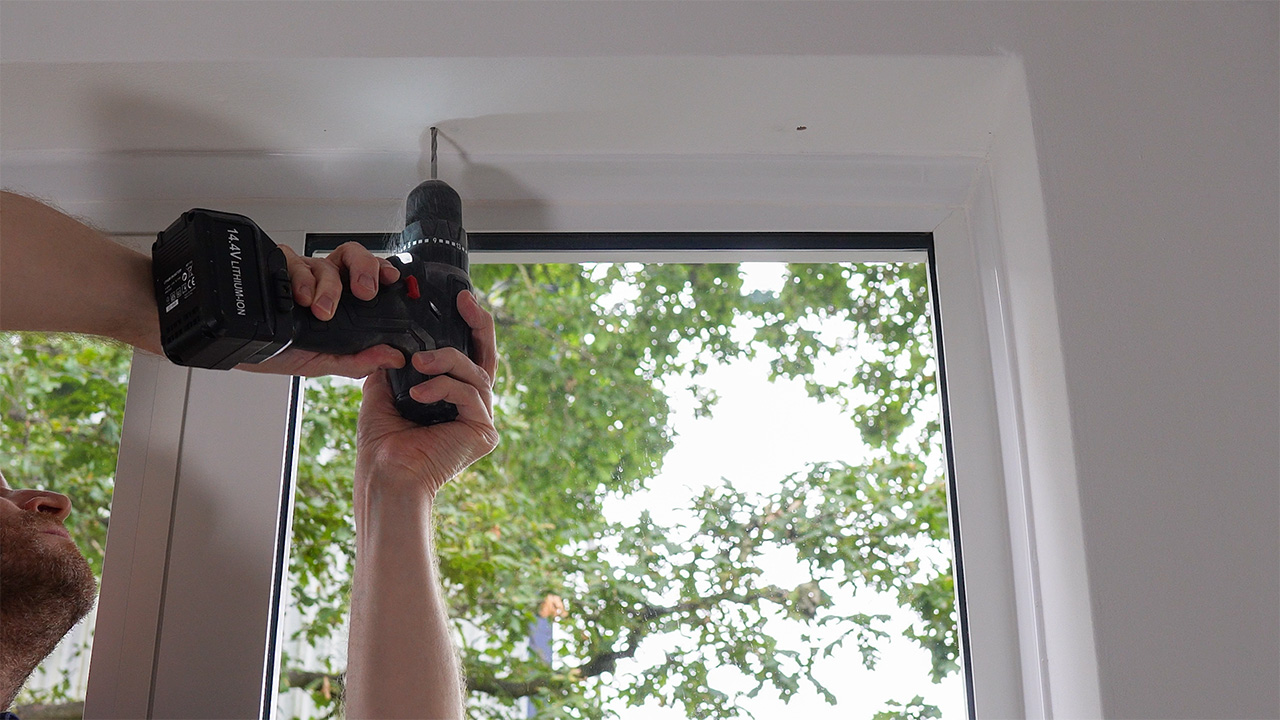
Drill the holes, starting with a pilot drill bit (4 to 5mm will do), and then drill to the finished diameter by using a 7mm drill bit.
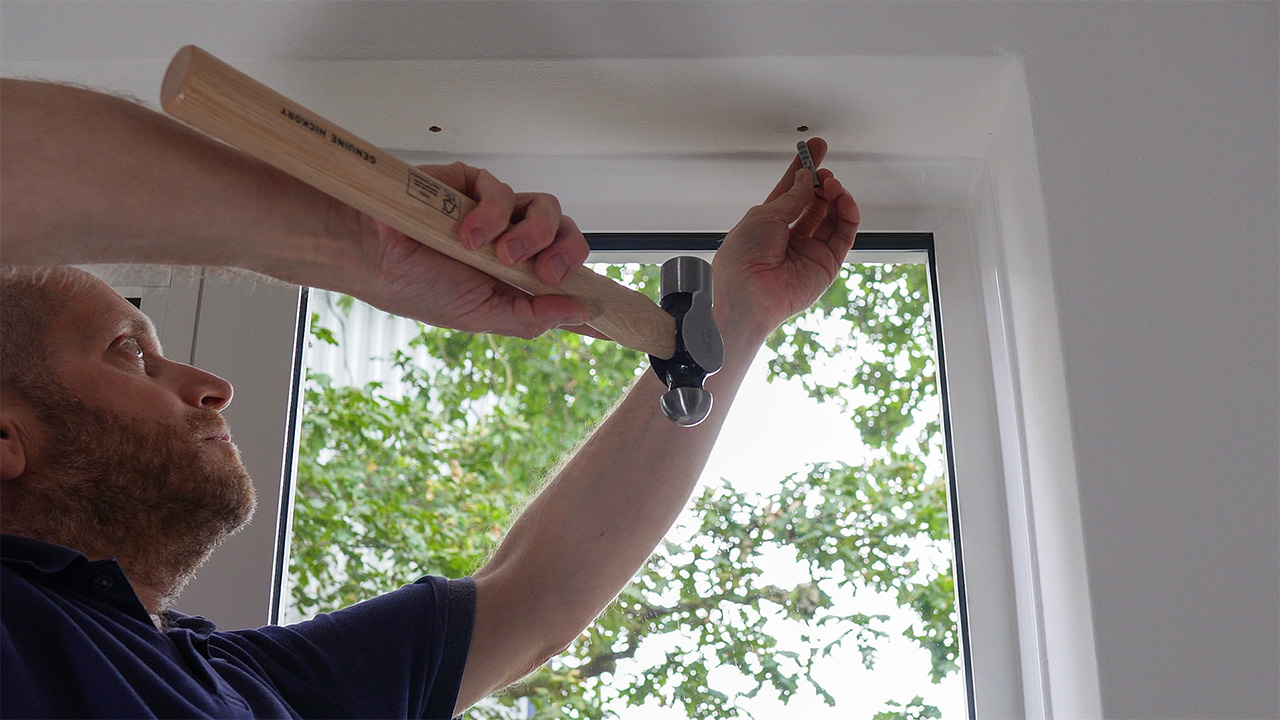
Insert each plastic plug into its hole and use a hammer to gently tap them in until they're flush with the surface. Note that if you're screwing into a wooden surface, you don't need to use the plastic plugs.
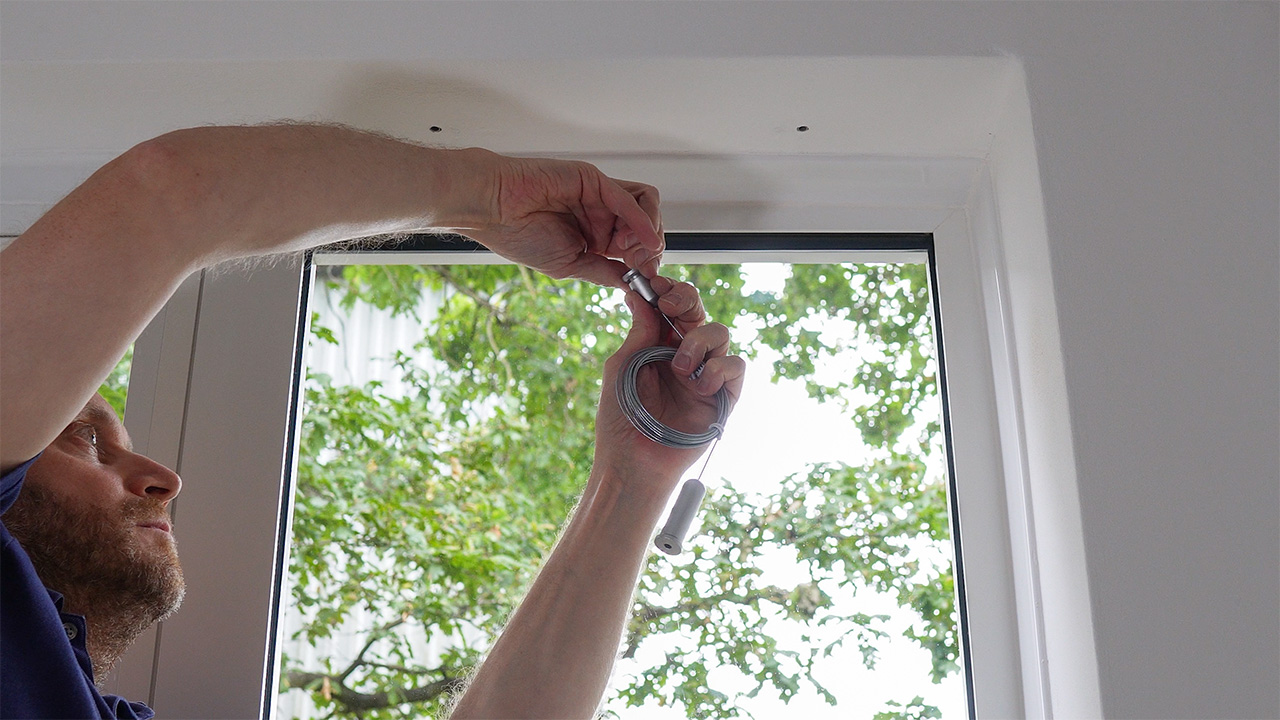
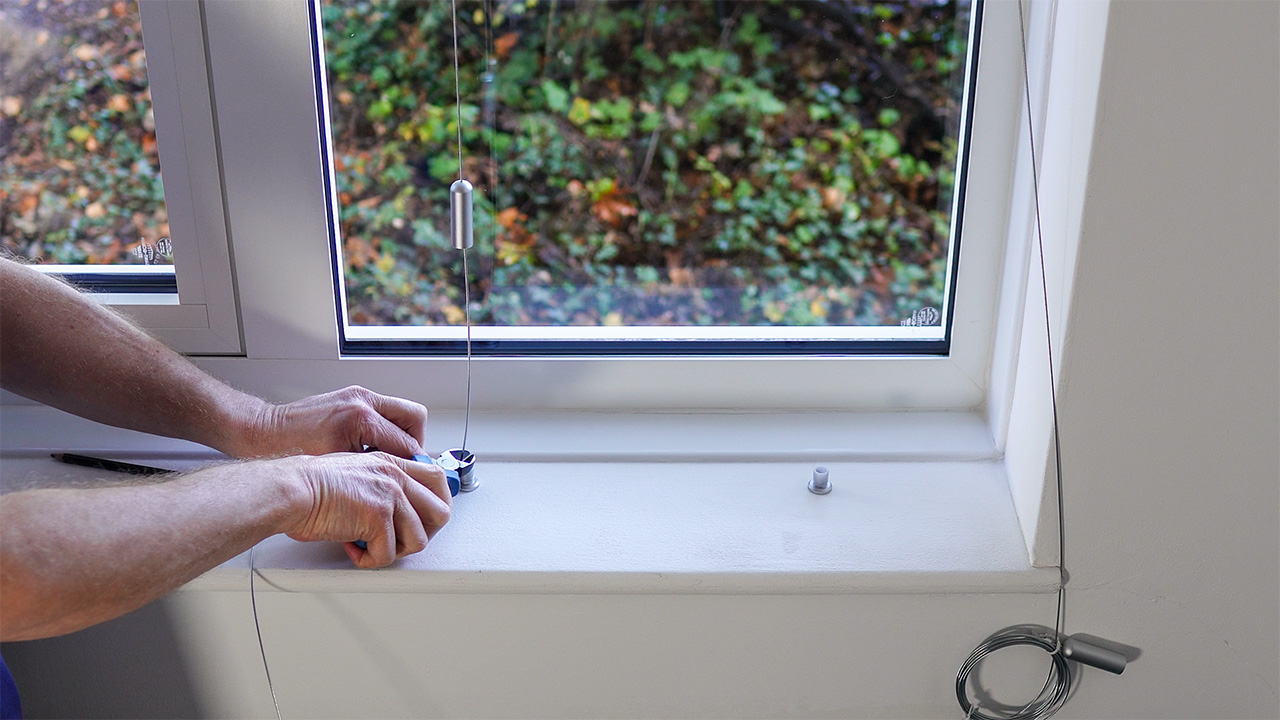
Unscrew the inner fixing from its outer body for the ceiling/window recess (top) end of the cable kit.
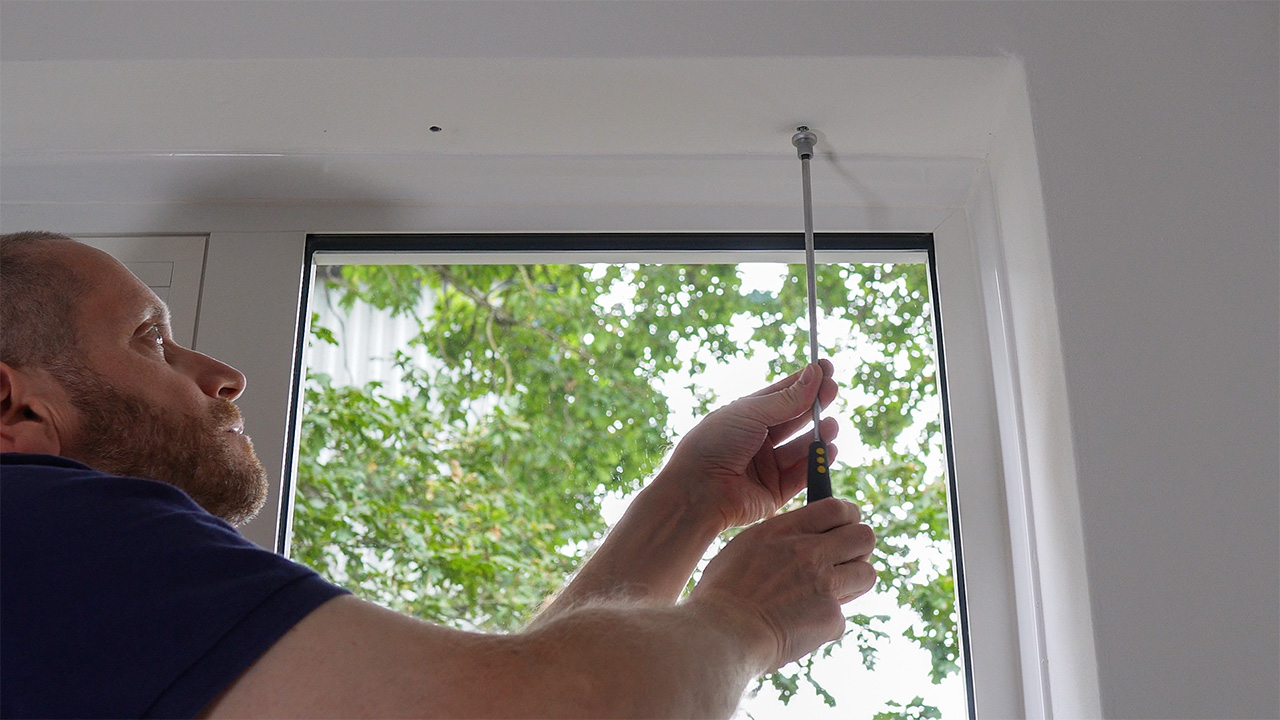
Screw the inner fixing to the ceiling/window recess top. Note that the screws and plastic plugs are all included with the display.
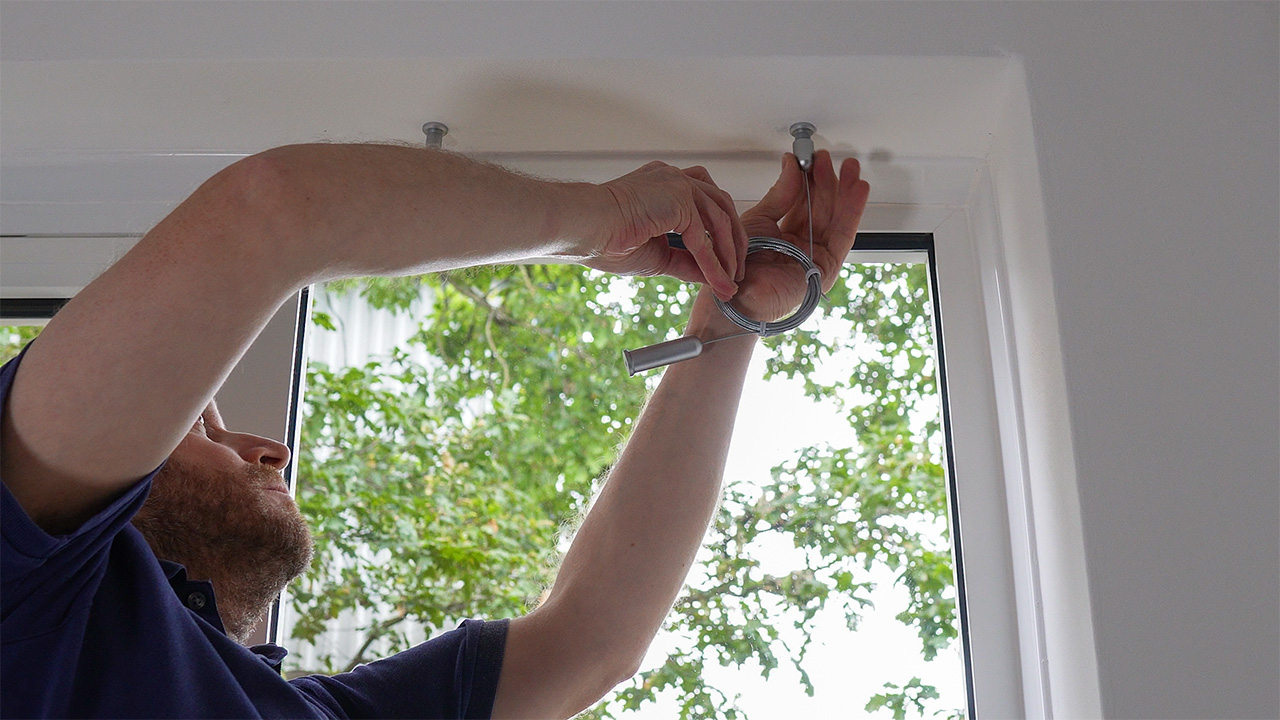
Attach the cable kit and allow it to hang down, by screwing its outer body onto the inner fixing.
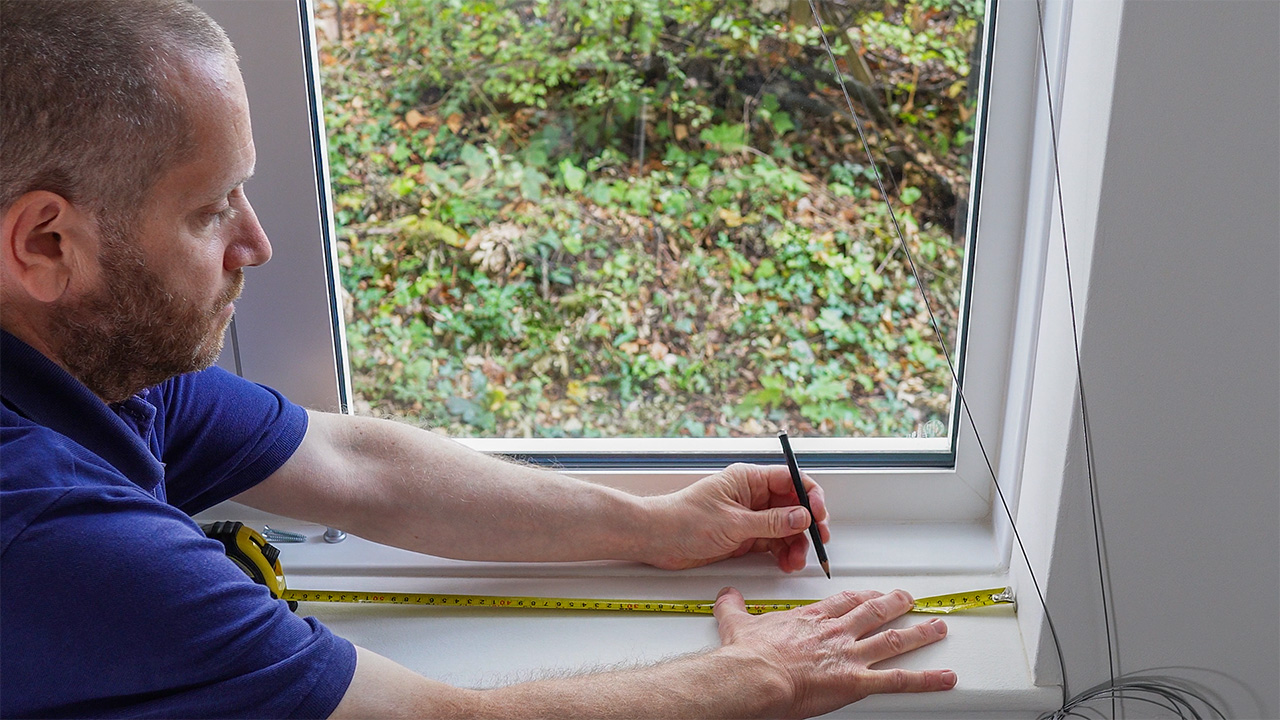
Carefully mark out the hole positions to the distance stated in the instructions provided, making sure to double check the measurements before proceeding to drill the holes.
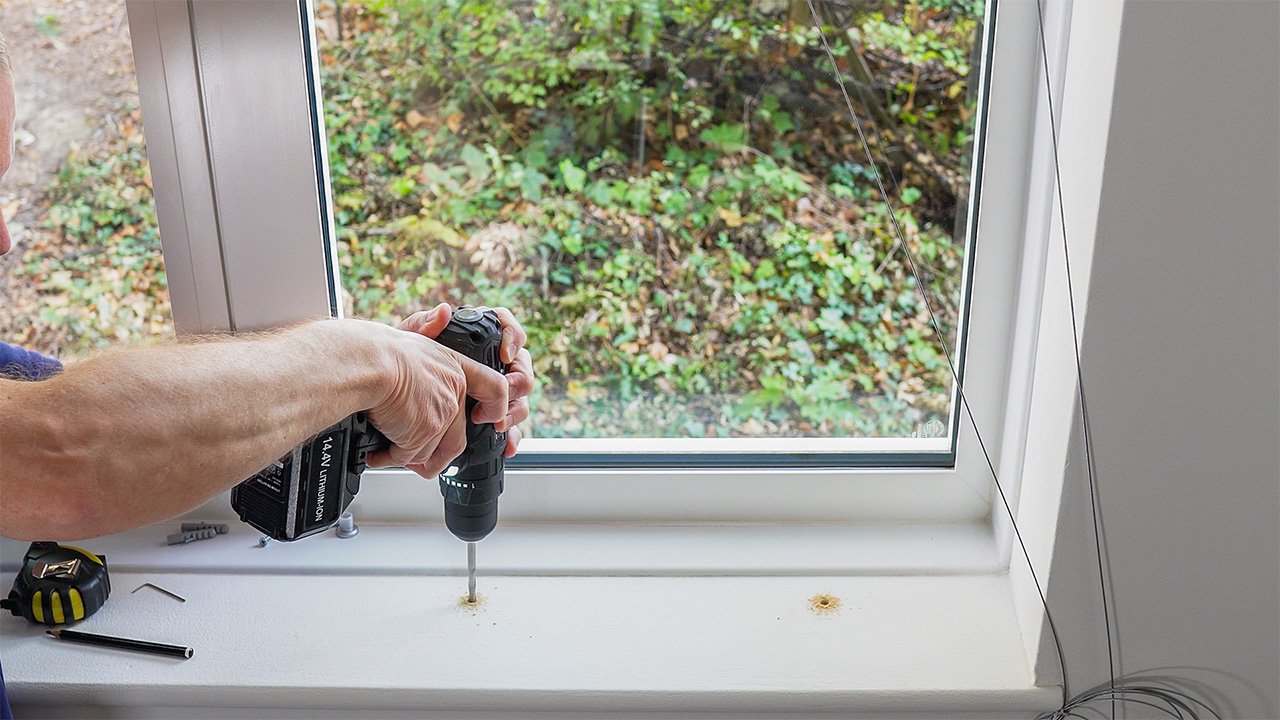
Drill the holes just like before, starting with a pilot drill bit (4 to 5mm will do), and then drill to the finished diameter by using a 7mm drill bit.

Gently hammer in the plastic plugs and then screw the inner fixings to the floor/window recess bottom, just like you did for the ceiling/window recess top.
Cut the cable to length by cutting it flush with the top edge of the bottom fixing, i.e. 15mm above the floor/window recess bottom.
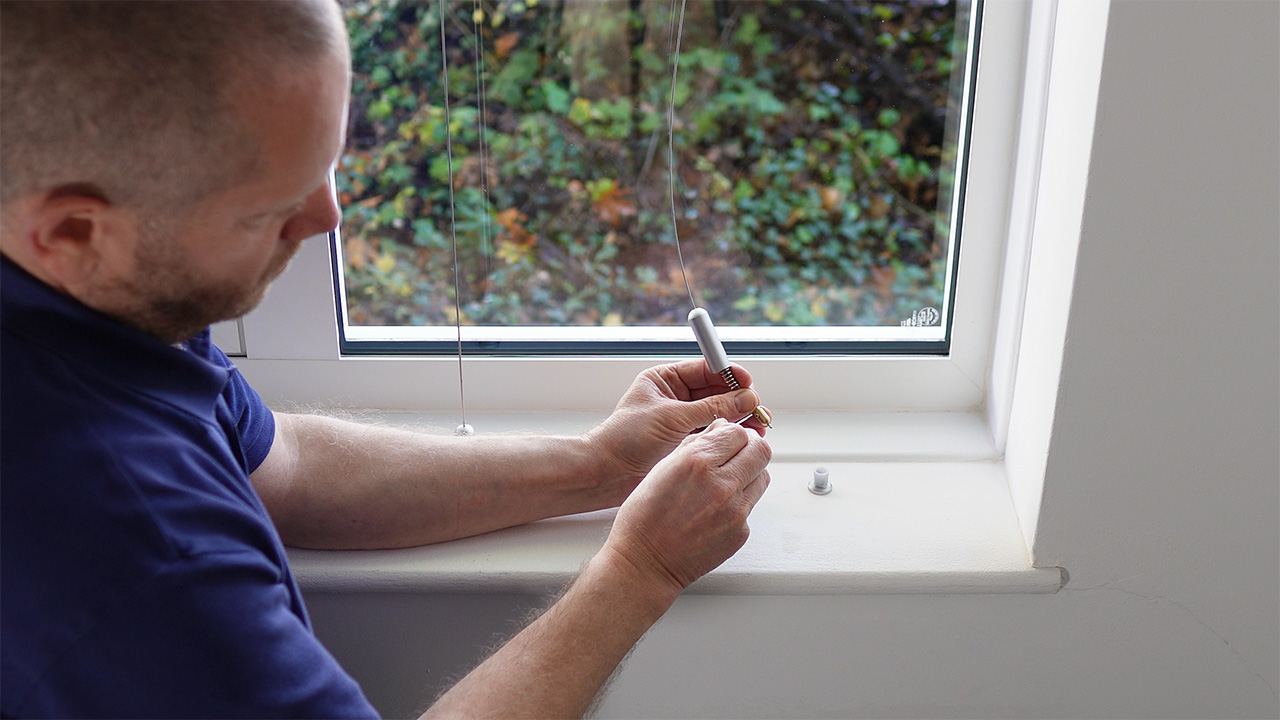
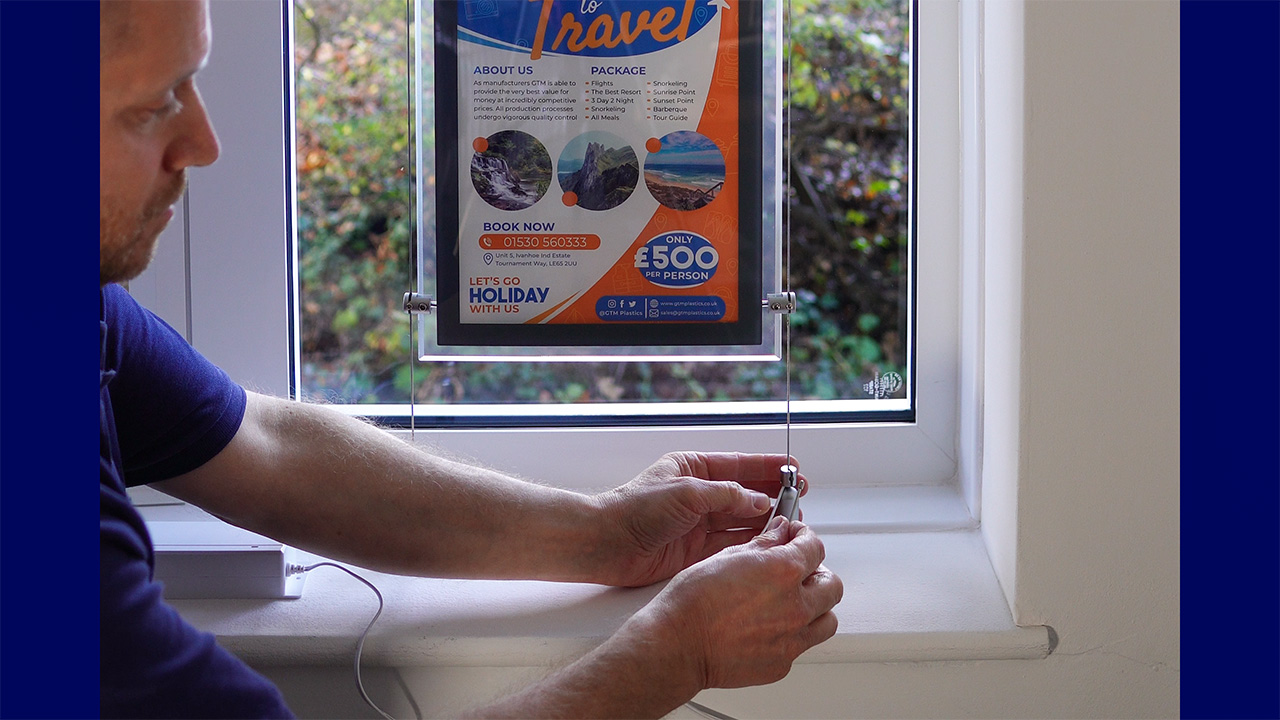
Lock the adjustable sliding nipple in position approximately 5mm from the end of the cable. Note that all Allen keys are provided with the display.
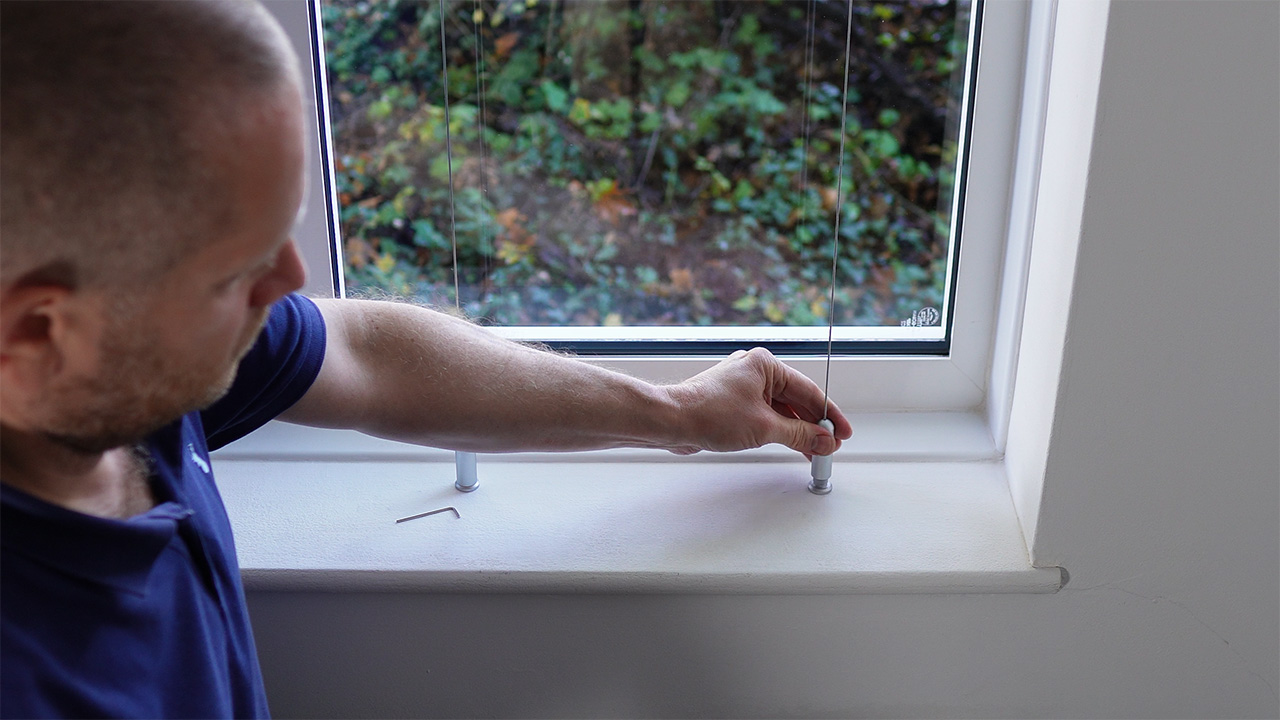
Screw the bottom inner fixing's outer body onto its inner fixing. This causes the spring to become compressed, thereby making the cable taut.
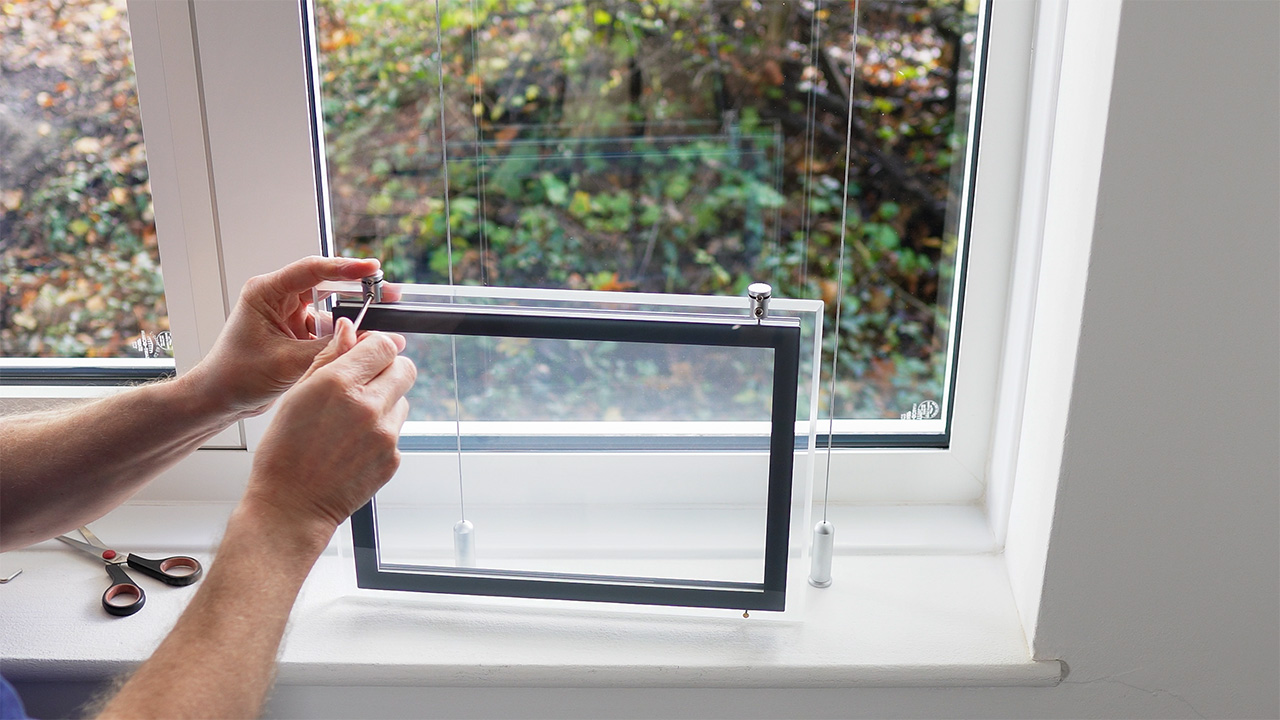
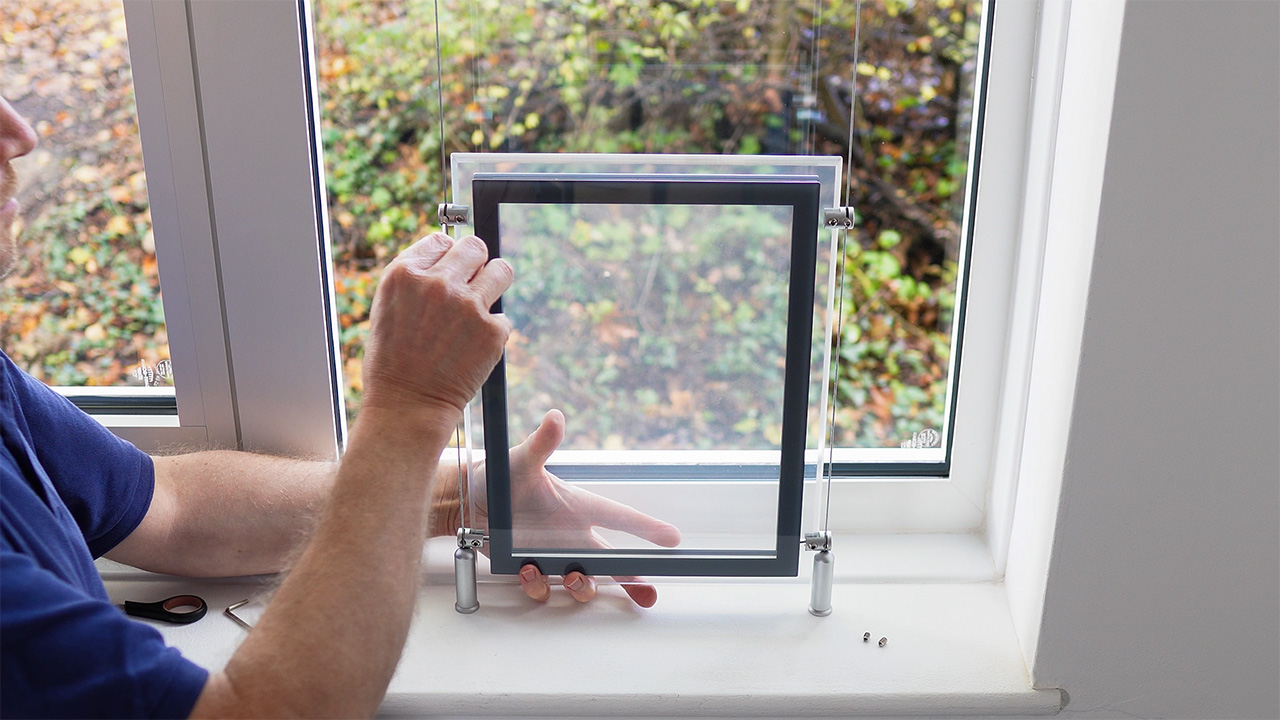
Attach all four panel clamps to the light pocket. To make it easy to position each clamp at the same distance along the edges, there's a small, machined recess close to each corner.
Remove the screws from the clamp slots to allow the cables to slide into the slots. Then place the pocket in position and reinsert the screws and tighten gently. Note that the bevelled edge should be facing inside the room/shop.
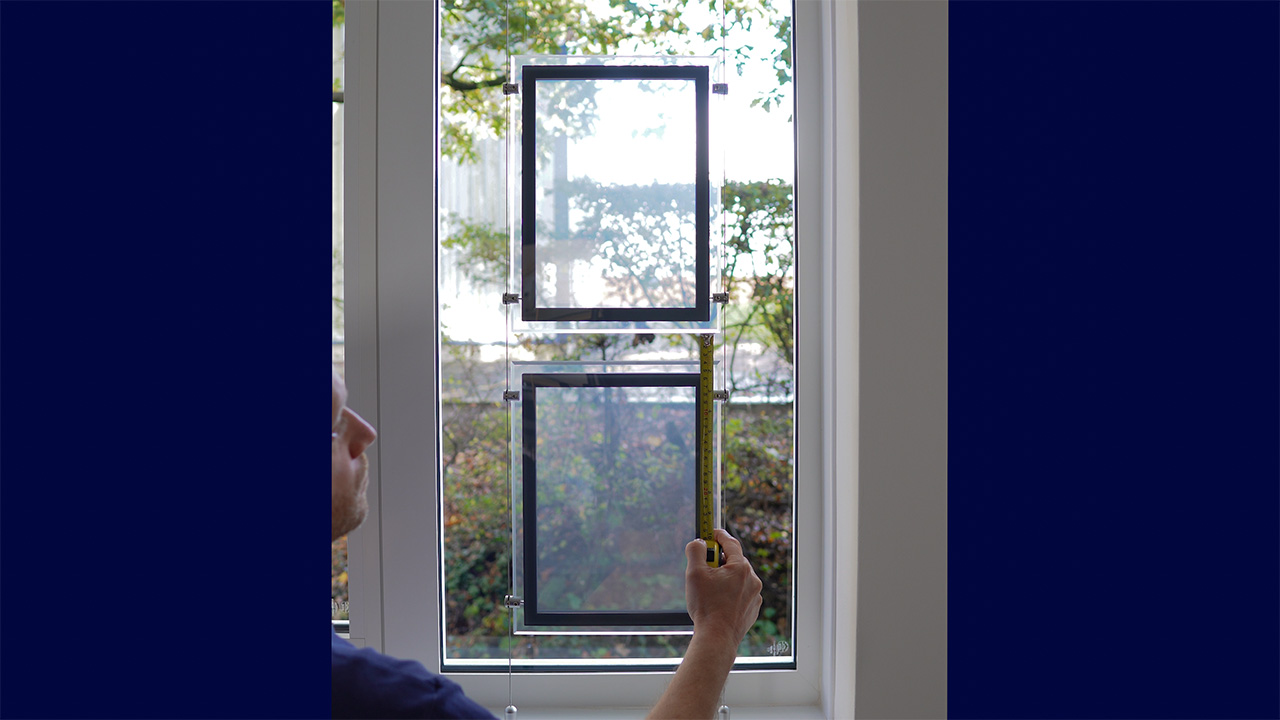
After you've finished positioning the pockets to your preferred height, loosen the grub screws just enough to allow the pockets to slide up and down the cables when gently pushed. You can then either use a tape measure to square them up, or simply eye them up to your satisfaction, and then retighten the screws gently.
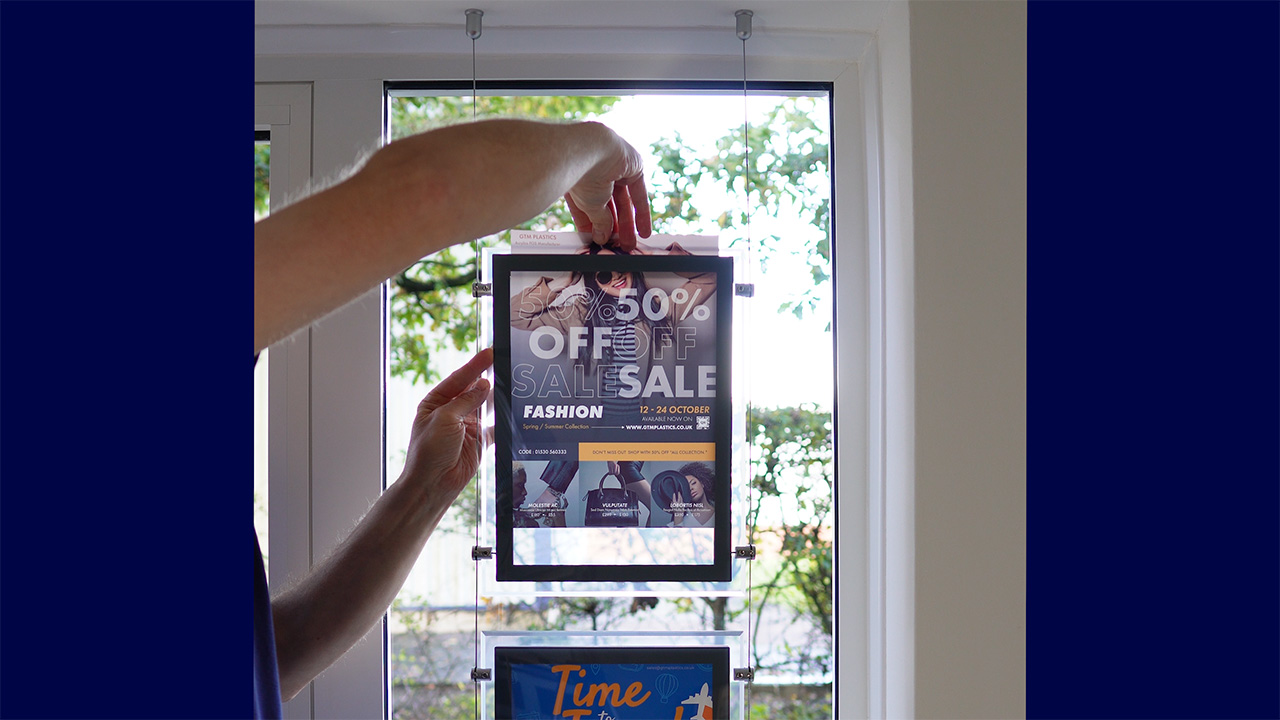
To insert your poster into the light pocket, simply use your fingers to flex the face panel away from the centre body. Our double-sided (default purchase option) units have a compartment on each side, which allows you to advertise both facing the street and inside your shop/business.
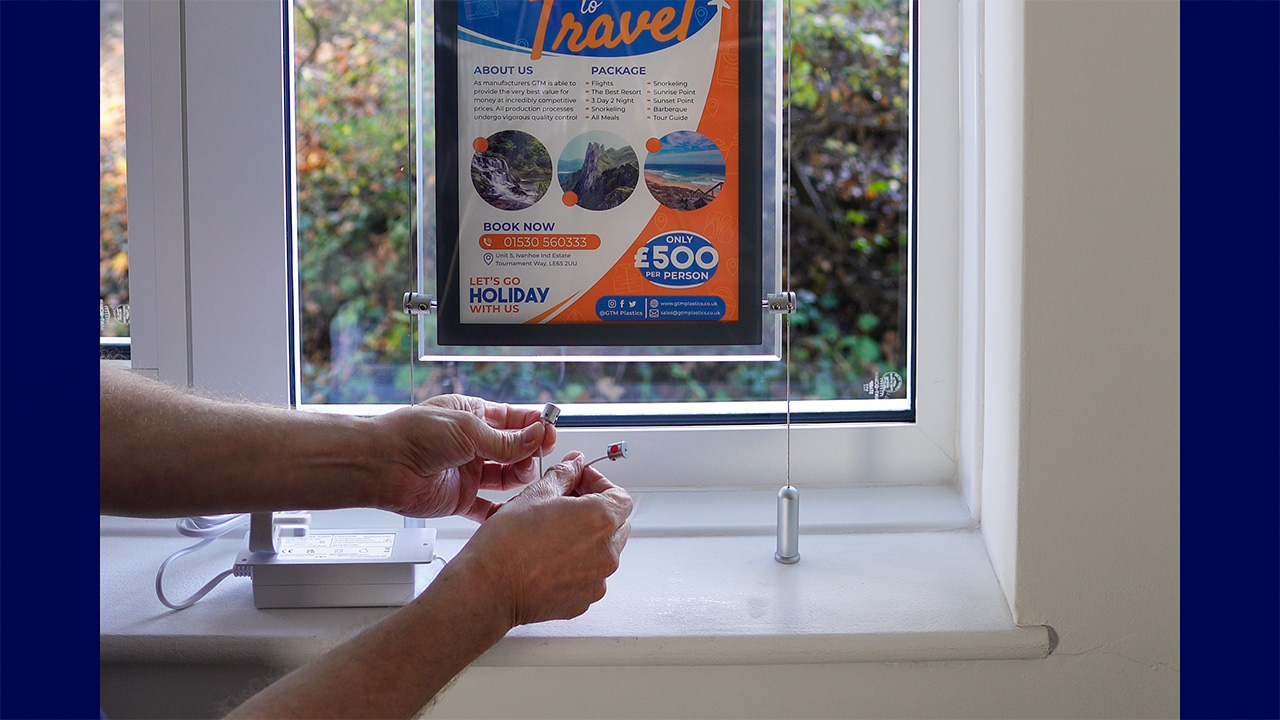
Separate/split the power supply wires by gently pulling them apart. Connect the positive wire (red dot on the connector) to the cable on the right when looking out of the window (bevelled edge is facing inside the shop). Connect the negative wire to the left cable.
You've now finished assembling your display - simply plug it in to illuminate your posters...
Plug into a normal UK mains socket to power-up the displays. The corner fixing holes can be used to screw the transformer's white body to any flat surface. By default, you'll receive the white 12V 5A 60W power supply with your display when it arrives. We also have an optional 12V 7.5A black power supply which can be used to power a relatively large number of light pockets at a time, e.g. 2x5 A3 portrait or landscape display kit.